What is Delamination?
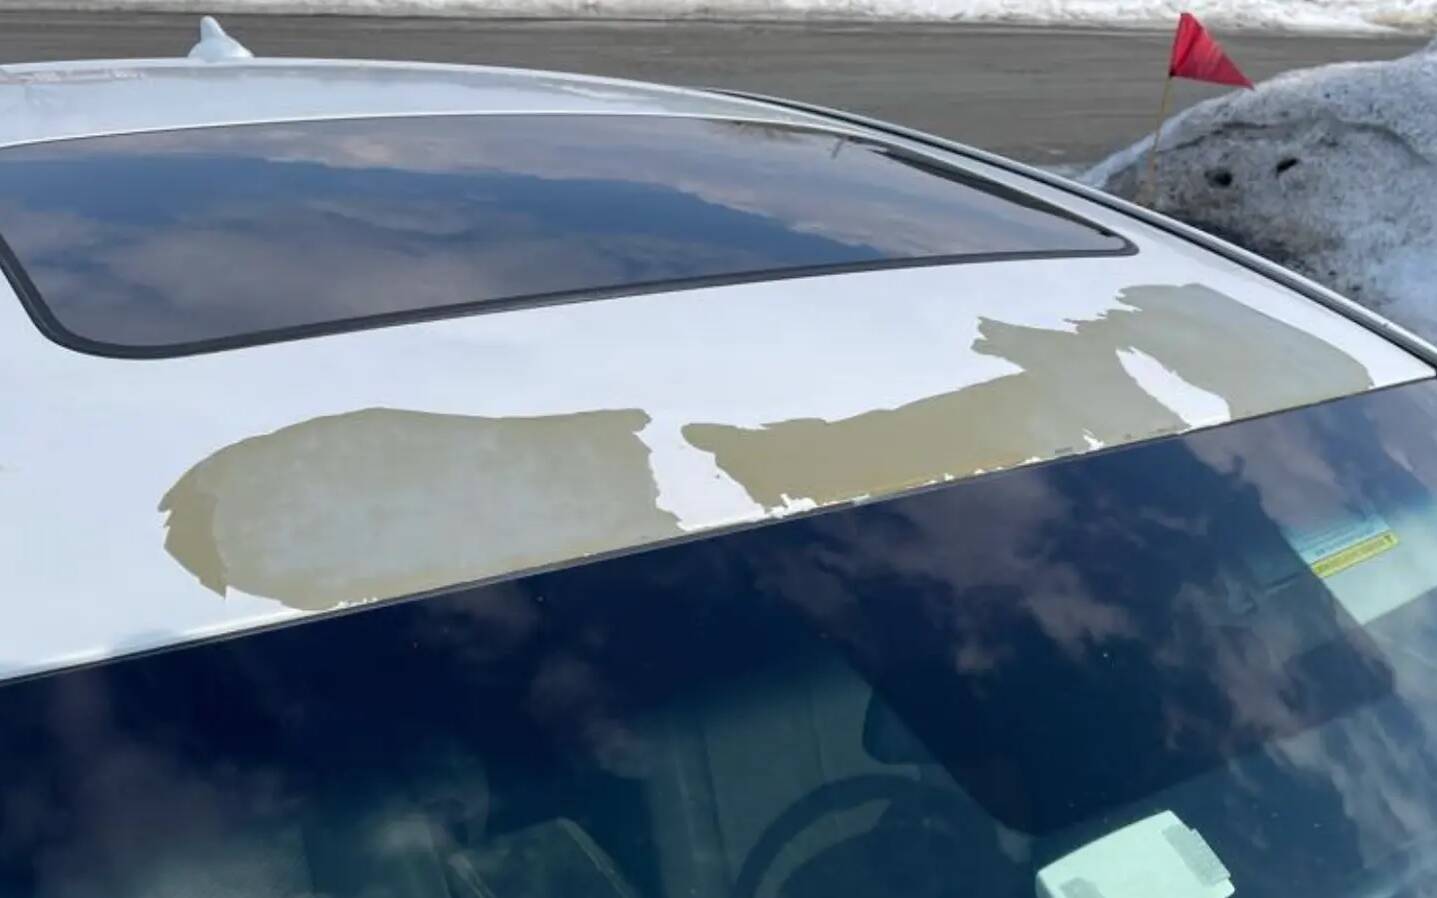
We’ve all seen it. A technician brings the vehicle into his bay, starts to get his repair area ready, sands it, and is about to blow it off when suddenly, small sheets and shards of paint and clear come flying off against the air pressure. Just like that, the repair area becomes the whole panel.
Delamination, sometimes referred to as “delam,” is when the different layers of primer, paint, or clear start separating from each other, or when all of the layers start to separate from the substrate.
What Causes It?
Delamination can happen for many different reasons. Some of the most common are contaminated paint surfaces, incorrect prep work, and incorrect flash/cure times.
What to Look For?
Not every repair will be the same, and each one will have different variables. It is the job of the technician to make sure that each layer is applied and dressed correctly so that the next layer can be applied without issue.
Let’s look at some examples of things that increase the chance of delamination and why:
Poor Substrate Preparation
Depending on what the substrate area is made of, e.g., aluminum, plastic, metal, or fiberglass, different preparations will have to be taken to ensure the next layer can properly adhere.
Sanding properly is extremely important because if the sand scratches are too fine, the next layer will not stick; if they are too deep, then the product layer must be thicker to fill the deep scratches.
Depending on the substrate, you might need to use an etch primer, epoxy primer, or plastic adhesion promoters. Without the chemical adhesion that these products provide, the layers cannot hold onto each other. These products act as a bridge between two different surfaces that otherwise might not get along with each other.
Usually, this will result in the whole repair lifting, including all of the layers on top of it.
Not Cleaning Each Layer Properly
This is simple. Each layer needs to be cleaned properly and thoroughly before the next layer is applied. This does not just mean wiping or blowing the dust off. A waterborne cleaner and a solvent cleaner are necessities on the shop floor. Both need to be used at different times during the repair process. A solvent-borne cleaner will not clean the water and dirt residue marks from a previous clean or some rain/dried dew drops. A waterborne cleaner will not get rid of undercoating, overspray, or other chemical-based contaminants.
If you are not cleaning your layers properly, you are introducing a micro layer of contamination between the layers. This layer of contamination prevents the products from bonding properly.
Usually, this will appear as the product starts to delaminate in small areas throughout a panel, usually where cleaning was not done as thoroughly as the rest of the panel.
Incorrect Flash/Cure Times
In some cases, you can force dry certain products if you follow the manufacturer’s recommendations. This may include the use of IR lamps, baking, or accelerators, but again, only if the manufacturer recommends it.
This point is meant to highlight when technicians don’t follow the manufacturer’s instructions. For example, when a technician adds a little more hardener to their body filler, they are changing the characteristics of the finished product. The new characteristics may not be suitable or appropriate for the next layer of product.
Primer/Sealer
When applying primer, it is extremely important to follow the proper flash times. When the technician tries to shorten the flash time, the product does not have enough time to off-gas/set up between coats. This will trap gases, cause uneven drying/curing, and lead to an incorrect final product.
Basecoat
When dealing with waterborne basecoat, flash time is vital. Painters need to be careful of “skinning over,” which is when the top portion of the coat dries but the bottom portion is still wet, creating a waterbed-like effect.
Simply put, the water in the basecoat needs to be fully evaporated before the application of another coat. If this is not done correctly, the basecoat will continue to stay wet, and you will get that waterbed effect, which will absolutely cause delamination.
Air drying with high pressure or too aggressively is usually the main culprit for causing this. Activating the basecoat can help you avoid this situation on very humid days, but always follow the manufacturer’s recommendations.
Tips for Prevention
Always make sure to refer to the manufacturer’s recommendations; the products will only work the way they are designed to. Here are some helpful tips to help avoid delamination:
- Use a simple digital timer when you need to account for flash or curing times. Place the timer in a spot where it is easily accessible and visible. It is easy to lose track of time when you are rushing, so tracking it will ensure proper flash/cure time. Always refer back to what the manufacturer says for that product. For example, a sealer will need to be re-scuffed if it sits for too long before the basecoat is applied.
As frustrating and expensive as delamination issues can be to repair, they are one of the simpler things to prevent happening within your facility. Having an effective SOP for each department will do wonders for workflow and work quality.